
Have you ever walked into a beautifully designed room, only to realize that every footstep, conversation, and closing door echoes endlessly? Poor acoustics can quickly turn a stunning space into an uncomfortable environment. Whether you are building a professional recording space, upgrading a home theater, or simply trying to make a lively office bearable, proper acoustic panel installation is the key to achieving pristine sound quality.
Before diving into the installation process, it is crucial to clarify the differences between soundproofing and acoustic treatment. Soundproofing prevents sound from entering or leaving a room—often requiring dense construction materials and structural changes. Acoustic treatment, on the other hand, controls the sound reflections inside the room. While many people search the internet for “soundproofing panels” when they want to fix a noisy room, what they usually need are sound absorption panels designed to tame internal reverberation.
In this comprehensive guide, we will explore everything you need to know about optimizing your space, from choosing the right materials to mastering the installation process.
Table of Contents
Understanding Your Acoustic Challenges
o treat a room effectively, you first need to understand how sound behaves within it. Sound waves bounce off hard surfaces like drywall, glass, and hardwood floors, creating a chaotic mix of direct and reflected sound.
Do you know what causes flutter echo in rectangular rooms? It occurs when sound waves bounce rapidly back and forth between two parallel, hard surfaces. This creates a ringing, metallic sound that can completely ruin a recording or a conversation.
Another major issue is low-frequency buildup. When it comes to eliminating standing waves in small recording spaces, standard thin panels won’t cut it. Bass frequencies naturally accumulate in the corners of a room, causing a “boomy” or muddy sound. To combat this, utilizing bass traps for corner placement is essential. By absorbing these heavy low-end frequencies, you allow the true sound of
The Metrics of Sound Absorption
When shopping for noise reduction panels, you will likely encounter the acronym NRC. Let’s get Noise Reduction Coefficient ratings explained: the NRC is a single-number rating ranging from 0.0 to 1.0 that indicates how much sound an acoustic product absorbs. An NRC of 0 means the product reflects all sound, while an NRC of 1.0 means it absorbs 100% of the sound that hits it. For effective room treatment, you generally want panels with an NRC of 0.75 or higher.
Choosing the Right Materials
Not all sound panels are created equal. The material you choose will dictate both the acoustic performance and the visual aesthetic of your room.
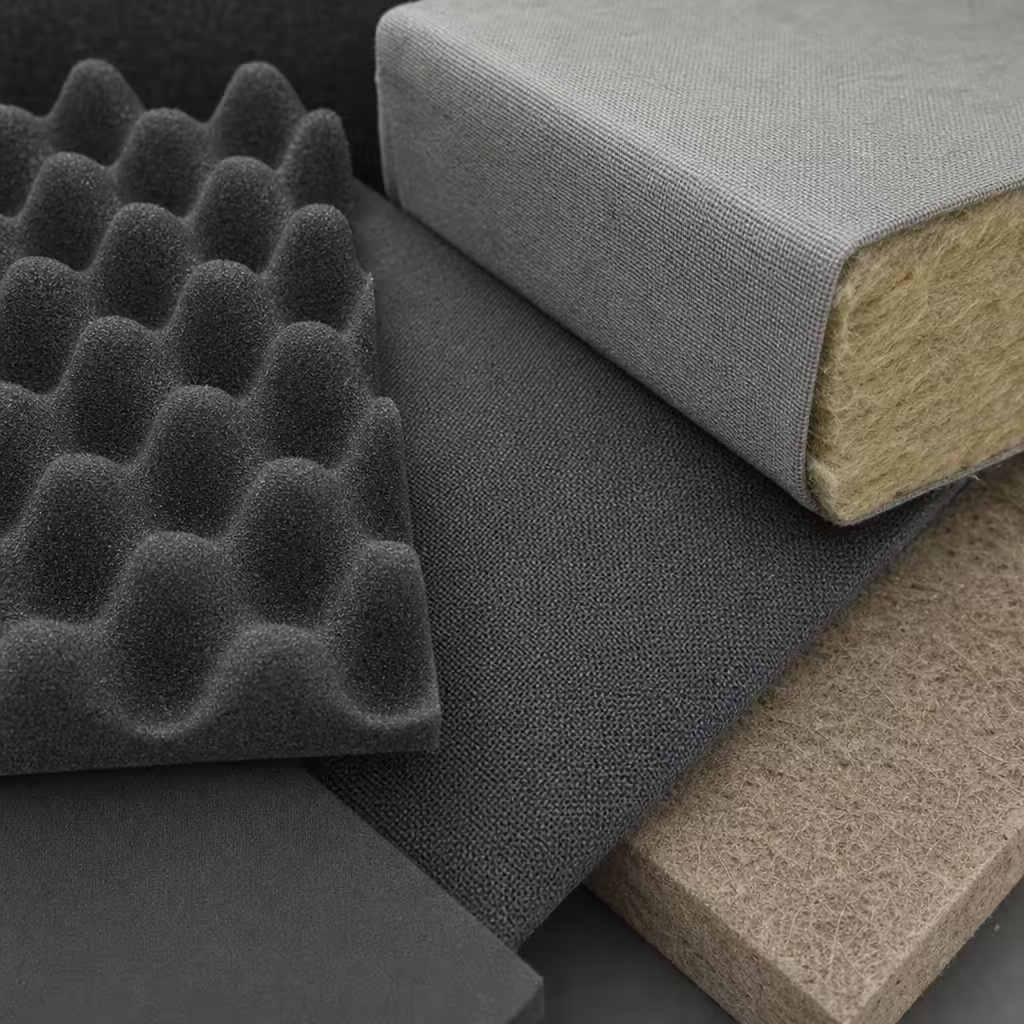
Acoustic Foam vs. Mineral Wool When weighing acoustic foam vs mineral wool for noise control, it is important to understand their strengths. Acoustic foam is lightweight, affordable, and excellent at taming high-frequency echoes. However, high-density mineral wool (or fiberglass) offers a broader spectrum of absorption, particularly in the lower-mid frequencies. Because of their dense, fibrous nature, mineral wool panels are widely considered the best materials for acoustic treatment in home studios.
Form and Function For living rooms or corporate spaces where aesthetics matter just as much as acoustics, exposed foam might not be ideal. Instead, consider decorative fabric wrapped boards for interior design synergy. These panels hide high-density fiberglass behind acoustically transparent fabric, offering a sleek, professional look.
DIY Options If you are on a tight budget, creating DIY acoustic panels is an excellent weekend project. By building simple wooden frames, filling them with mineral wool insulation, and wrapping them in breathable fabric, you can achieve professional-grade studio soundproofing at a fraction of the cost.
Placement Strategies for Optimal Sound
Even the most expensive panels won’t work well if they are placed incorrectly. The goal is to maximize the impact of surface area on sound energy dissipation without “deadening” the room completely. You want a controlled space, not a sensory deprivation chamber.
The “Mirror Trick” for First Reflection Points
Sit in your primary listening position (e.g., your desk chair or home theater sofa). Have a friend slide a mirror along the side walls. Wherever you can see your speakers in the mirror, mark that spot. These are your “first reflection points.” You will want to use porous absorbers for mid-to-high frequency dampening directly at these points to prevent the sound from the speakers from bouncing off the walls and hitting your ears milliseconds after the direct sound.
Home Theaters and Offices
Proper placement is crucial for reverberation time optimization for home theaters. You want dialogue to be crisp and explosions to be tight, which requires a balanced mix of absorption on the side walls, diffusion on the back wall, and heavy bass trapping in the front corners.
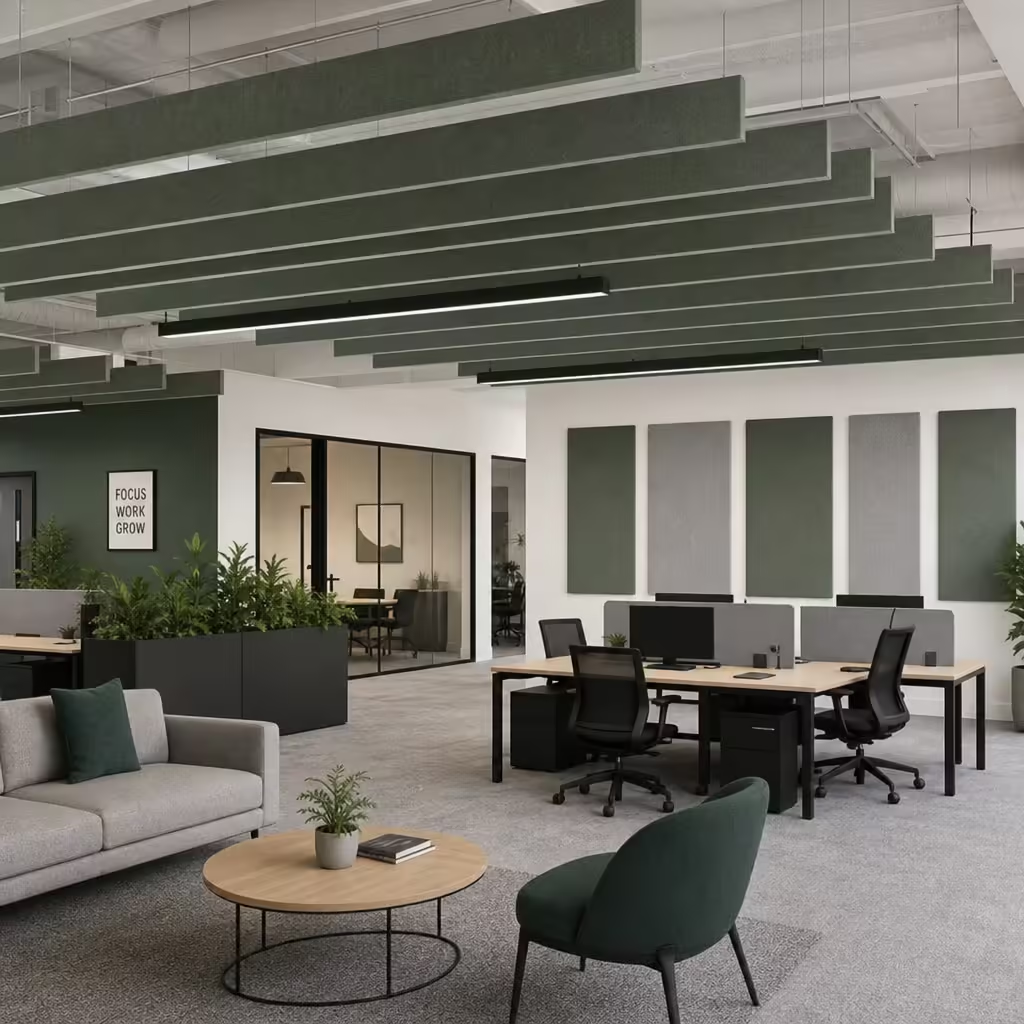
Similarly, strategic placement is vital for improving speech intelligibility in open plan offices. By placing panels at ear-level near desks and utilizing ceiling baffles, you can drastically reduce the ambient chatter that makes focusing so difficult.
Tackling Complex Spaces
Not every room is a standard box. If you are wondering how to reduce echo in large rooms with high ceilings, the answer usually lies in ceiling treatments. Because you have massive amounts of reflective real estate above your head, standard wall panels won’t be enough.
In these spaces, hanging acoustic “clouds” horizontally or suspending baffles vertically is the most effective strategy. This interrupts the sound waves before they can travel up to the ceiling and bounce back down.
The Installation Process: Bringing It All Together
Once you have your panels and your placement plan, it is time for the acoustic panel installation
. While it may seem daunting, proper wall panel installation is a straightforward process if you have the right tools.
Step-by-Step Installation for Wall-Mounted Acoustic Baffles
Whether you bought commercial panels or built your own, here is a reliable, step-by-step installation for wall-mounted acoustic baffles and standard flat panels:
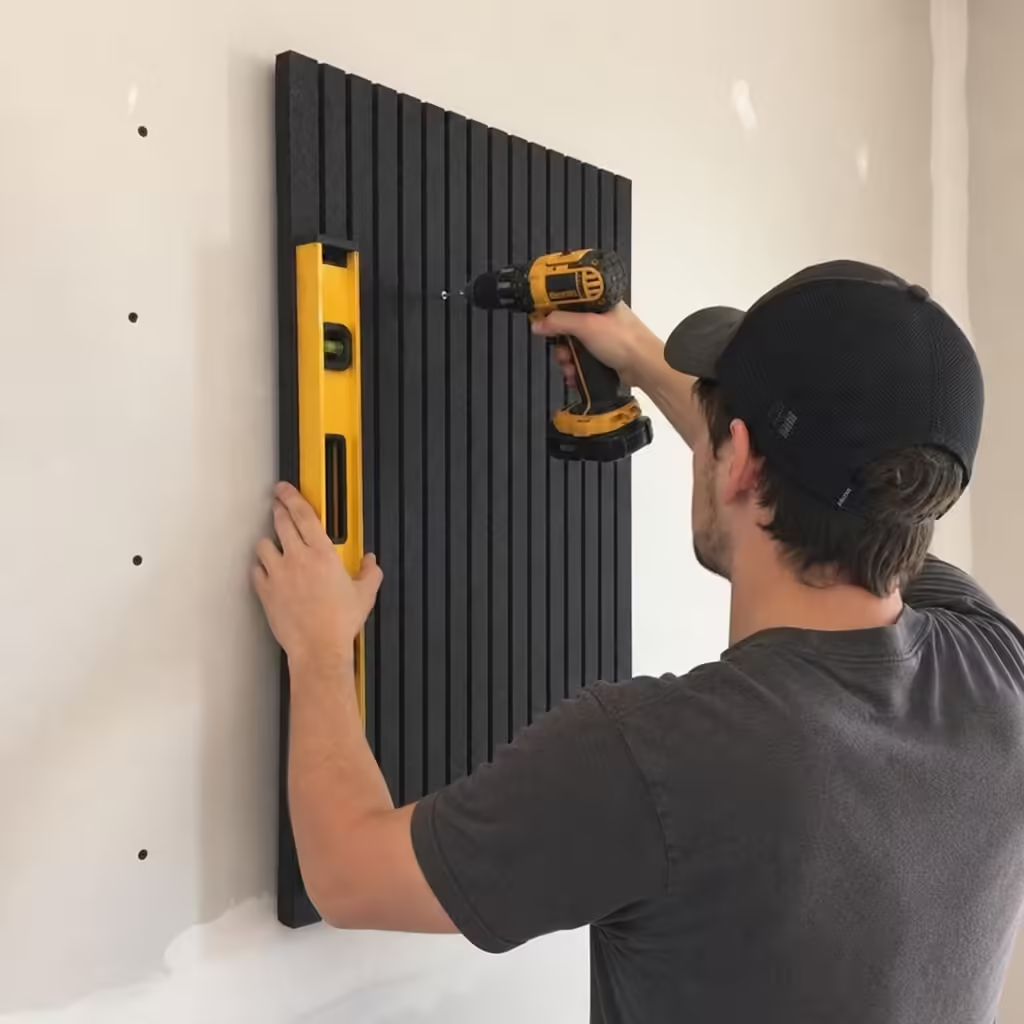
Step 1: Gather Your Tools You will need a tape measure, a pencil, a bubble level, a stud finder, a drill, and the appropriate hanging hardware (Z-clips, impaling clips, or French cleats are highly recommended).
Step 2: Measure and Mark Using your tape measure and level, mark the precise locations on the wall where the top of the panel will sit. Standard practice is to center the panels at ear level—typically around 48 to 52 inches from the floor for a seated listening position.
Step 3: Install the Wall Hardware If you are using impaling clips (small metal plates with sharp, upward-facing spikes), screw them directly into the wall. Use drywall anchors if you aren’t hitting a stud. For heavy mineral wool panels, use at least four clips per panel (two near the top, two near the bottom).
Step 4: Mount the Panel Hold the panel against the wall just above the impaling clips. Using a level to ensure it sits perfectly straight, press the panel firmly down and into the wall so the spikes bite into the fiberglass backing.
Step 5: Secure and Adjust Apply firm pressure across the surface of the panel to ensure it is deeply hooked onto the hardware. If you are using Z-clips or French cleats, simply interlock the bracket on the back of the panel with the bracket on the wall.
Mounting Ceiling Clouds
Ceiling installations require a bit more caution. Always ensure you are using the correct mounting hardware for ceiling hung clouds. This typically involves screwing heavy-duty eye hooks directly into the ceiling joists (never just the drywall) and using adjustable wire cables or chains to suspend the panels horizontally over your listening position. Leaving a gap of a few inches between the ceiling and the panel actually increases low-frequency absorption, making your space sound even better.
Conclusion
Transforming a noisy, echoing room into a refined, acoustically balanced environment is an incredibly rewarding project. By understanding the physics of your space, selecting the right sound absorption panels, and executing a precise installation, you can drastically elevate your audio experience.
Remember, successful acoustic treatment is about strategy, not just covering every inch of your walls. Whether you are using high-end fabric panels for an executive boardroom or setting up your first home studio, follow these essential tips, trust your ears, and enjoy the beautiful sound of a perfectly tuned room.